
Update: 06-01-2019
Starting with volume 2 as my web building program does not allow that much rules on one page.
Today I started with building the frond wheel clamp and started wit the controller arm witch will house all the control components.
The wheel clamp was a bid more work then I thought but managed to get is (close) to the plan.
Cutting the plates to the desired length.
Next was cutting under 45 degrees but also under a angular.
Perhaps not a professional way to do it, but it worked.
Cut and cleaned ready for welding
And her she is, needs a lot more of welding but the start is there
Started on the arm with will house the control panel
Constructed a bid strong but it needs to house the following
1) Laptop
2) Eddy current controller
3) Cooling fan controller
4) Exhaust fan controller
5) Cooling fan angular controller
6) Space for a future controller
Can swing it easily to the left when I need to mound a bike on it, or work on it.
Update: 12-01-2019
Started on constructing the adjustable fan holder.
The idea is that the fan can be adjust up and down also nearer and further away.
So it can be set on the right position for each tzr witch I will be testing.
Tubes cut ready for welding
Outside tubes weld into place
Four outside tubes on there places
Four slide legs
All four cut to the desired height
Welding the push construction on the lower part
A 5000N linear actuator
600mm height when fully down
800mm height when fully up
Update: 13-01-2019
Not a big jump today, started at the adjustment part for forwards and backwards controller.
With this option I should be able to manually angle the blower as close as possible to the radiator
Distance at closed
Fully open 30cm
Example: in basic mode
Adjusted as tight as possible
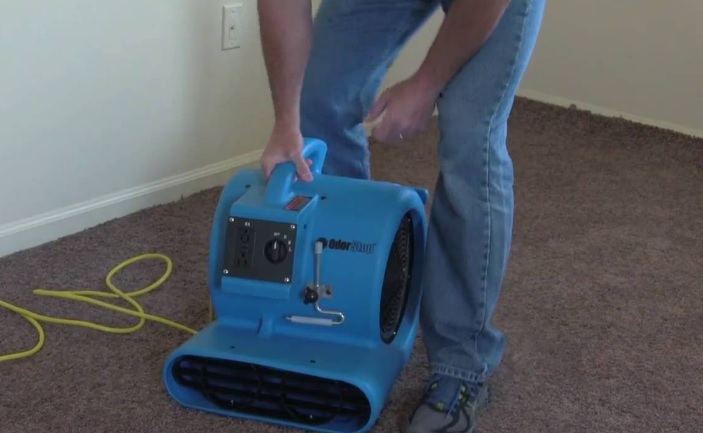
To get a idea about the fan, I'm planning to use these types (example picture)
You have them really big about 20kg pushing around 4500m3 air.
That would be more then enough for my little 125's and 250's
Update: 19-01-2019
Today I have changed the four legged construction to a two legged construction.
It will be strong enough for its purposes, but it gives a leaner/tighter look.
Also it clamp it self less, so up and down is going more smoothly.
The construction uses two linear actuators
So any position is possible between
Horizontal 600mm till 800mm
Vertical 400mm till 600mm
Fan holder vertical at 600mm
Fan holder horizontal at 400mm
Fan holder vertical from 600mm to 800mm
Fan holder horizontal from 400mm to 600mm
Update: 26-01-2019
Today I didn't do much the winter is started snow is there and its cold in my workshop.
Did make the frond wheel clamp adjustable with a linear actuator (4000N)
I do need to reweld it all, but it works can adjust the front now with 200mm
In its shortest position now
As I mentioned need to reweld it all but the 4000N actuator does seems to work great
Update: 04-02-2019
Today Started with making a electric starter for the dyno.
This for testing old race bikes, witch you can only push start
Needed a mounting plate for the starter
One side ready, other side need grinding
Both sides clean
Top also ready
Giving it more strength
Need to get the position right, and then weld it on to its pace
Update: 10-02-2019
Today finished the starter, welded it all and she works.
Also made a bracket to hold the eddy current brake in position
And last but not least, made the brake for the drum it self.
All welded up, looking tight and its working great
Need to make a bracket to hold the eddy current brake steady
Constructed it nice and strong (50x50 x3)
Bracket is now steady but normally the loadcell is placed on that point
Also constructed the brake for the drum
Using a kart brake petal, it should work fine
Update: 23-02-2019
Today started with the construction for the Laptop holder and control panel.
Also made the two construction plates that will connect the two units
Clearly you can see what direction its is going
Can position the control panel at any position
Left side mounting point (need to weld it later with higher amps)
Right side mounting point (need to weld it later with higher amps)
Strengthen construction
Strengthen construction
Update: 09-03-2019
It needs quit some time constructing the laptop holder and control panel.
Right side almost done, left side still needs work
Slowly it is getting shape.
On the Left eddy current brake control and fan control
On the Right switching on cooling fan and exhaust suction
Battery holder.
Construction is only tacked, need to weld it all better.
Example with battery
Update: 23-03-2019
Today I finished the control panel setup. And making a removable fuel arm to hold a small fuel tank.
Thought this could be handy when setting up a bike, so you done need the remove whole tank anytime you change a setup.
On the left side the controllers for the.
1) Cooling fan
2) Exhaust suction
3) Main power dyno
Removable small fuel tank arm.
Easy to remove the whole arm
The control board goes nice and tight over the fuel arm
Update: 30-03-2019
Slowly getting there.
Almost ready for compete welding.
Up/down Blower.
Closer/further blower
Longer/shorter wheel clamp